To achieve predictable, repeatable color on a flexographic press, you need good color management and solid process control. Otherwise, hitting your colors is really just luck. Although it may take a little effort to set up, it’s worth it. Your customers will be more satisfied, and you’ll save time and money through faster make-ready time and fewer reprints.
Today we’ll take a look at what’s involved in setting up flexo process control.
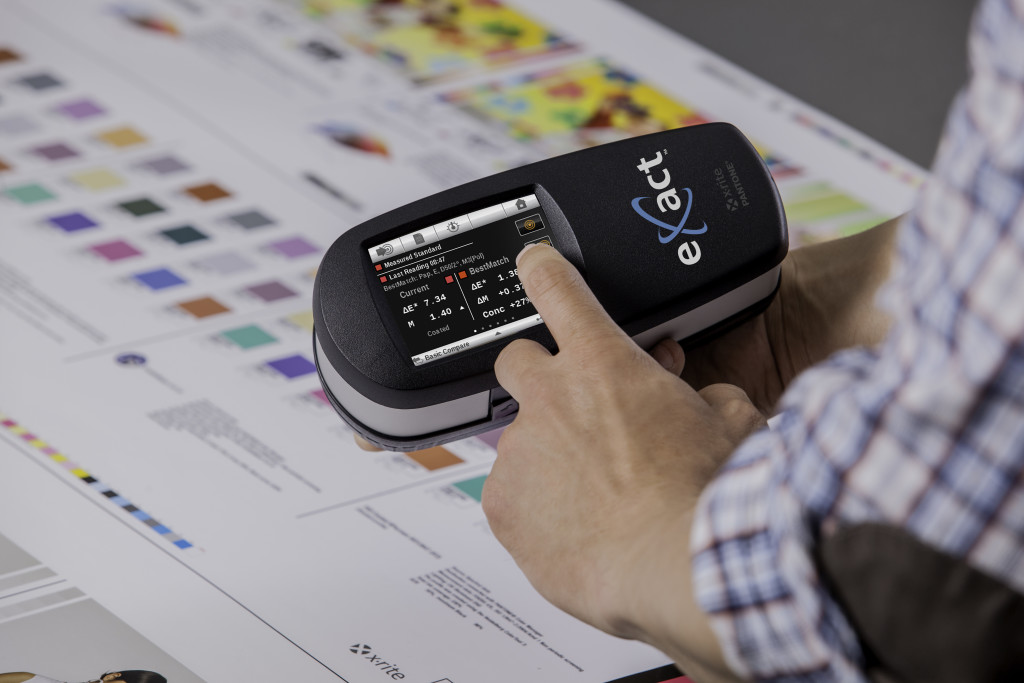
The X-Rite eXact takes the guesswork out of flexo process control.
- Set up color management.
If you proof a job on an uncalibrated proofer, if you make plates that are not verified, and if the press run is without proper color measurement, there’s no way to tell whether the colors you’re looking at are correct. Color management ensures that your devices are capable of producing accurate color with consistency within each job and from job to job.
- Invest in color measurement instruments.
You can’t rely on your eyes to judge color accuracy. Color perception is subject to illusions and trickery, but color measurement devices don’t have the same limitations. In a flexo workflow, spectrophotometers can be used to quality check proofs and press output as well as to calibrate the proofer and press. If you need help choosing the best spectro for your needs, check out our recent post on that topic.
- Consult ISO standards.
The International Standards Organization offers ISO 12647-6 as a set of standards for printing. ISO 12647-6 is specific to Flexo. Instead of just defining solid ink density target numbers, this standard looks at the actual color value. It’s up to the printer to establish the best L*a*b* targets for a given substrate.
Here are a couple of resources to help:
- The FTA (Flexographic Technical Association) has developed a specification handbook called FIRST that includes general guidelines for producing quality prints based on ISO 12647-6.
- The EFIA (European Flexographic Industry Association) also provides guidelines and handbooks on flexographic printing practices.
- Set production targets.
Process control starts with establishing target values, then adjusting the process to achieve them. For production, you’ll need more than the hue angle of the inks and the L*a*b* of substrate color. Production targets must include specific L*a*b* values for solid inks and overprints as well as TVI values. These can be from published target values, or from custom values developed from your press. What is most important is that standard target values are established for the production on each press condition that you run.
- Create targets and tolerances.
The first step must be to optimize the press set-up. This will determine the best combination of line screen, anilox rolls, ink strength, plates, mounting tape and other press settings for your selected substrate and application.
Next, the press must be fingerprinted to establish the target or aim values that will be used when measuring the control target in production. The patches to be measured include process ink colors as well as any spot colors that will be used in production, gray balance patches, overprint/ink trap patches, and tone scales. There will also be a number of test elements of vignettes, impression, slur, registration and other visual assessments of print quality. Measurement of the color patches will be documented as production targets.

Sample fingerprint test form
Measurement of samples across the fingerprint run will be used to help calculate the variation that can be expected in this print process. If the variation is greater than the specified production tolerance, either the specification or press conditions or both must be adjusted.
These new targets and tolerances can be used in future runs as well. When the make-ready or production measurements show that you’re out of tolerance, you know there’s something wrong that needs to be addressed. The earlier in the production process this can be caught and addressed, the more cost-efficient the production process will be.
- Include proofing in your workflow.
A good proof represents what the press can achieve. It can be used to get customer approval to run the job and to show the pressmen exactly what they’re trying to achieve. Proofs can come from many sources. In some cases, they are not even produced by the print provider. If you’re running a custom press condition, you’ll need to provide your own measurements or ICC profiles.
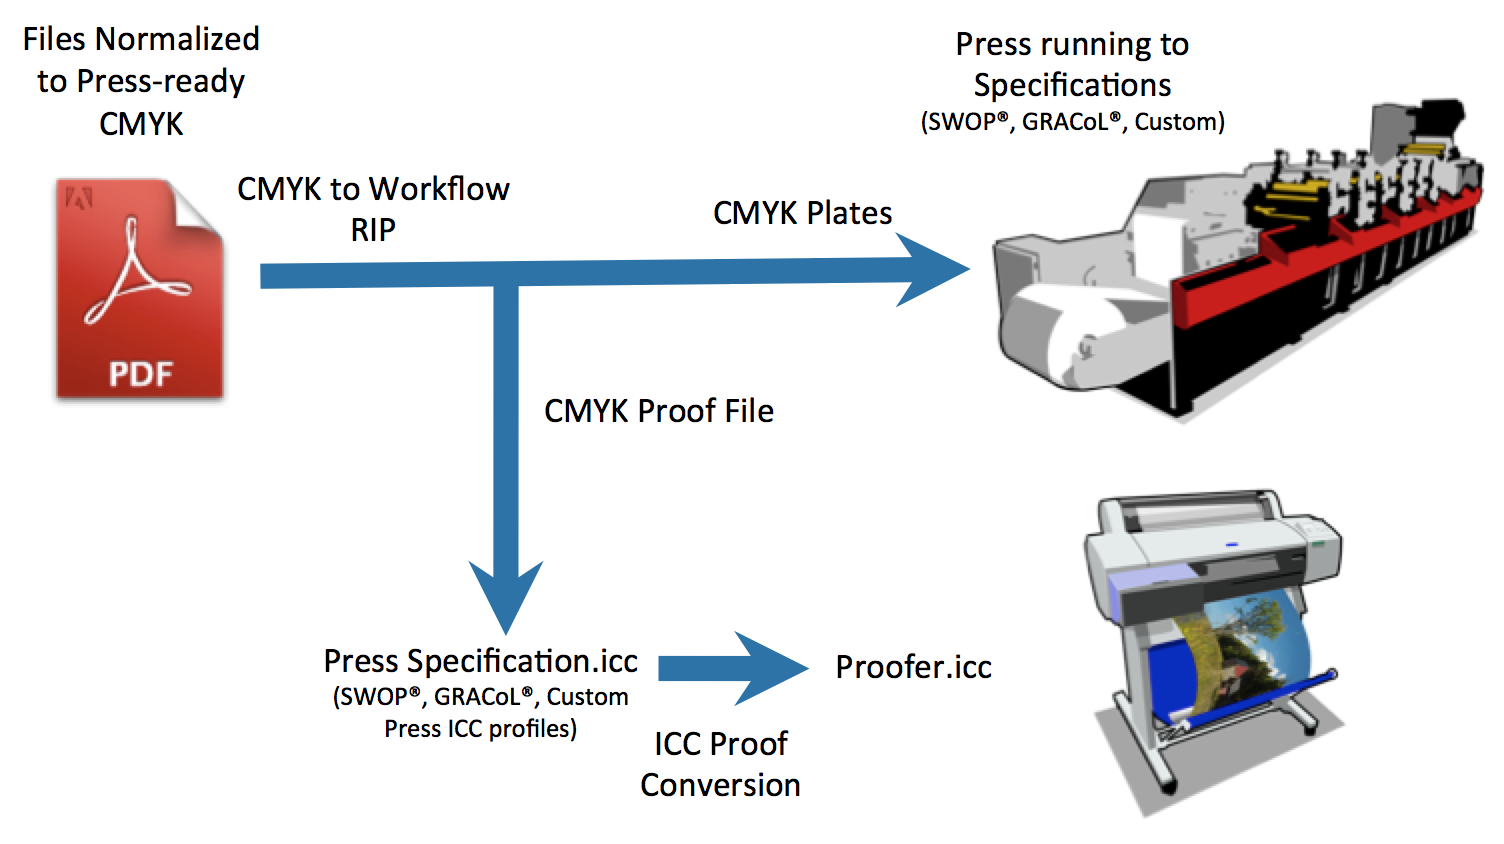
Most inkjet proofing systems can simulate the press with either ICC profiles or the measurement files from the characterized reference print conditions. These are available from the ICC Profile Registry at color.org.
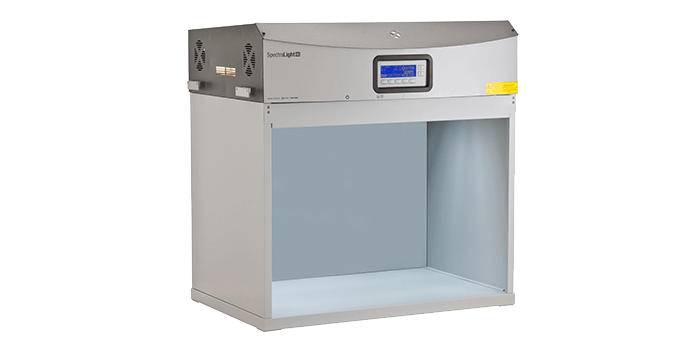
- View proofs under standard lighting.
Incorrect lighting conditions can change the way you see colors on your press sheet. In fact, poor lighting can change the color of a proof in a different way than it does on a press sheet. If the press operator is viewing proofs and press sheets under incorrect lighting and makes changes based on what is seen rather than what is measured, the color will be wrong.
Always view your prints under lighting conditions that conform to ISO standards. In addition to D50 (daylight), you may need to view production samples under other lights that simulate store or household lighting to assure that different parts of the package, such as the label and the box, will continue to match on display shelves or in the consumer’s home.
- Monitor press behavior.
The control target is the most important tool for monitoring your press behavior. It should include patches that represent the solid inks, overprints, tone value increase and gray balance. You measure these bars, then compare them to target points and tolerances called “standards.”
Sometimes these standards are defined by the ISO, and other times the print condition will require you to press test to define custom standards.

Correct solid ink density doesn’t necessarily mean good color. Take these images for example… they have the same solid ink density, but they look quite different. Which one is correct? The issue may be with tone value increase, overprinting, or ink. But the images demonstrate that we cannot rely solely on Solid Ink Density to achieve accurate color.
- Consider G7.
 G7 is an implementation of ISO Standard 10128, with a focus on near-neutral calibration. It is widely used in North America and gaining acceptance around the world. G7 can help you achieve a consistent gray scale using many different printing processes and applications. The primary idea behind G7 is its method of using plate curves to define neutral gray balance from highlights through the shadows. To achieve gray balance, each color will have a unique curve for the plate and its own TVI.
- Develop SOPs.
Once you’ve gotten this far, you need to document everything and communicate it to everyone involved in the workflow. Standard operating procedures (SOPs) provide a roadmap, help with issues, and make it much easier to train new employees. When SOPs are properly developed and implemented, they also ensure that everyone in the organization is operating in the same manner, regardless of their shift or location.
Take control of your color!
ISO has established industry standards, and each region has developed specifications and best practices to achieve them. In order to produce repeatable, accurate color on your flexo press, you must run your systems to meet these specifications and standards, use proofs that simulate the same press condition, and view your prints under the correct lighting.
Want to learn more? Consider X-Rite’s Going Beyond Density eLearning course, which provides step-by-step instructions for implementing color management and achieving process control on your flexographic press.
Featured Color Management Solutions
Learn more about these featured products:
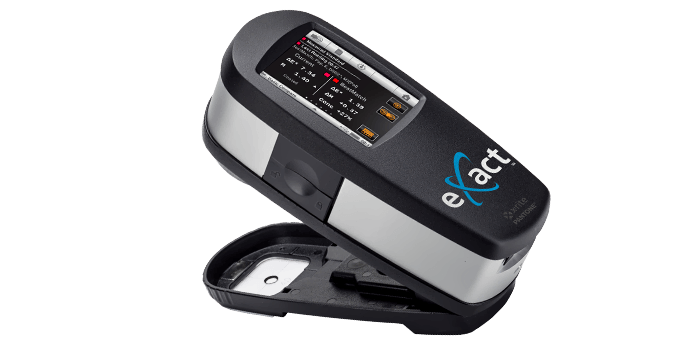
eXact
The new eXact combines industry-leading functionality with an easy-to-use interface to deliver the best solution yet for controlling, managing, and communicating color across the entire color workflow.
NetProfiler
NetProfiler is a cloud-based blend of software and color standards for verifying and optimizing performance of color measurement devices, reducing variance among instruments.