Does your quality control program include visual evaluation?
If not, it should.
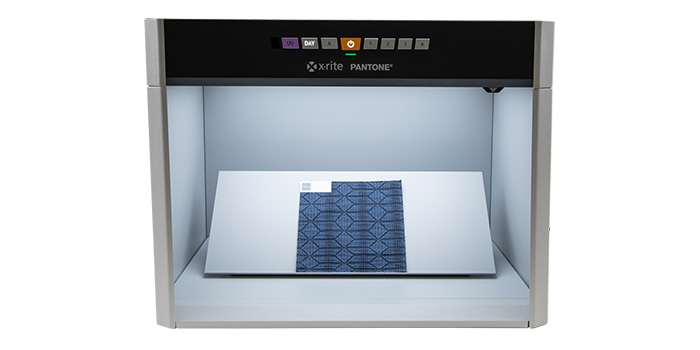
Using the SpectraLight QC as part of a color evaluation workflow.
No matter your industry, judging color is more than just measuring samples with a color measurement device. Just because a spectrophotometer says your color is within tolerance, doesn’t necessarily mean it will look right to the human eye.
To minimize customer rejects, your color control process needs to include visual evaluation in a light booth. This is especially important if you’re producing different parts for the same product, because they need to match in the factory, as well as outside, in a fluorescent-lit store, and wherever else they’ll be seen once they enter the world.
Today we’ll review visual evaluation best practices to ensure your quality control program is the best it can be.
Using a Light Booth for Visual Evaluation
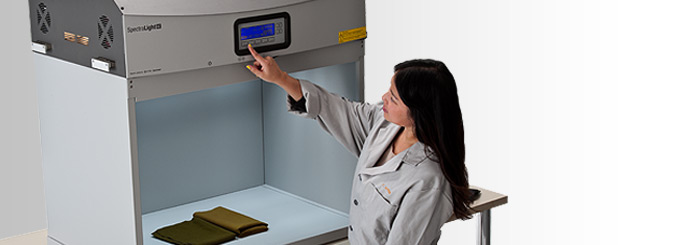
Light booths, such as X-Rite’s SpectraLight QC or Judge LED, provide a controlled environment for judging and comparing colors under different light sources. Here are ten tips to ensure you’re getting the most out of your visual evaluation process.
- Know your limitations. If your eyes aren’t capable of seeing accurate color, there’s not much a light booth can do to help. Everyone involved in your visual evaluation program should be tested for color discrimination. The Farnsworth Munsell 100 Hue Test has been around for over 40 years, and is an easy and effective method for identifying superior (or sub-par!) color vision. To learn more about the human eye and its limitations, check out The Tricks the Environment Plays on our Eyes.

Hue chips from the FM-100 Hue Test
- Choose the correct lighting condition. There’s a lot to say about lighting conditions, but we’ll save it for another post. What I will mention is that you should select every light source under which the final product will be seen. For instance, if you’re producing plastic garden ornaments, you’ll want to make sure they look good under each daylight source, plus fluorescent store lighting.
- Minimize surrounding light. The only light in the room should be coming from within the light booth. Light is color, and even a little bit streaming through the window or from a table lamp can change the color perception of your sample.
- Keep your light booth clutter free. Don’t sit or store anything inside your light booth… no plants, no pens, no cute little stuffed pets. All of these things will influence your color vision and cause you to make poor decisions.
- Be aware of surrounding colors. Our eyes are constantly processing the light that strikes the retina. Even our clothing can change our perception of color! Although it may feel drab, stick to neutral colors like white and gray if your day includes visual color evaluation.
- Properly arrange your samples. Although it depends on the product and material, the general rule of thumb is to view samples at a 0°/45° geometry. Light booths make this easy – just place the sample on the bottom of the booth, parallel to the light source.If you’re comparing samples, lay them side-by-side so they’re parallel and touching. Even a slight space between colors can trick your eyes. You also need to move them around – left to right, top to bottom – and observe any changes in color. This is especially important for curved or oddly shaped parts.
- Look fast. You may think that staring will help you focus, but our eyes actually become less sensitive after 5-10 seconds of looking at the same object. When judging color, look fast, then rest your eyes and before you judge again.
- Beware of metamerism. Metamerism is a phenomenon that occurs when objects match one light source, but not another (I find this to be a huge problem for socks!). It commonly occurs when dyes, paints or pigments are changed during production. To check for metamerism, view your samples under variety of different light sources.
- Evaluate early and often. The sooner you pick up on color issues, the less rework you’ll have to do later.
- Define standards. Once you determine what works for you, your products, and your customers, write it down. Standard operating procedures will ensure everyone responsible for evaluating color is doing it the same way.

What’s wrong with this picture? Pretty much everything!
Adding Visual Evaluation to Your QC Workflow
From tabletop light booths like the SpectraLight QC or entry level Judge LED to custom built Harmony Rooms, X-Rite can help you solidify your quality control workflow. Get in touch to speak with a Color Expert about your visual evaluation needs.
